
The Science Fair Poster Guide: Materials, Instructions, Transporting & Displaying
Yay! You’ve finished collecting all the data, analyzed your results and have written a conclusion for your science fair project. Now it’s time to make a science fair poster!
What is a science fair poster?
What is the purpose of a science fair poster?
What do I need to make a science fair poster?
How do I make a science fair poster?
How do I bring the science fair poster to the science fair?
How do I display the science fair poster?
What is a science fair poster?
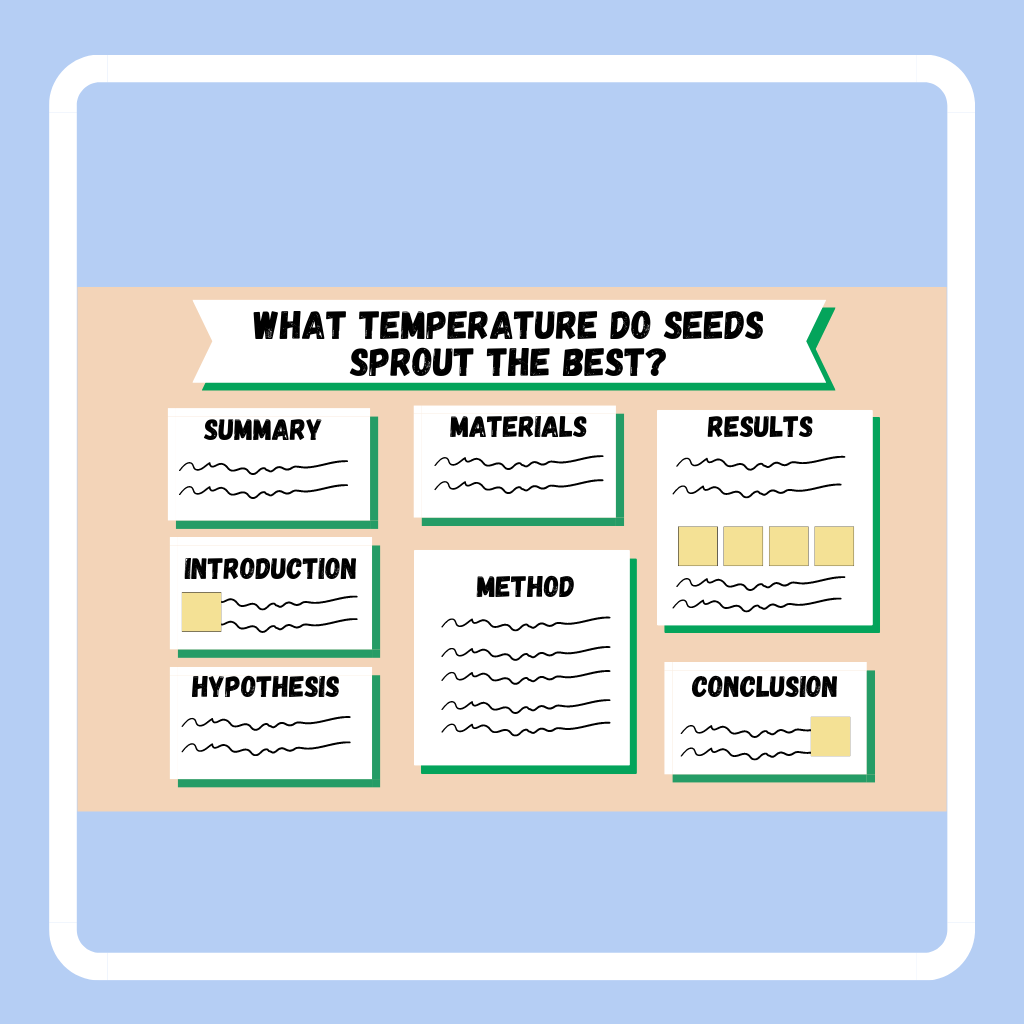
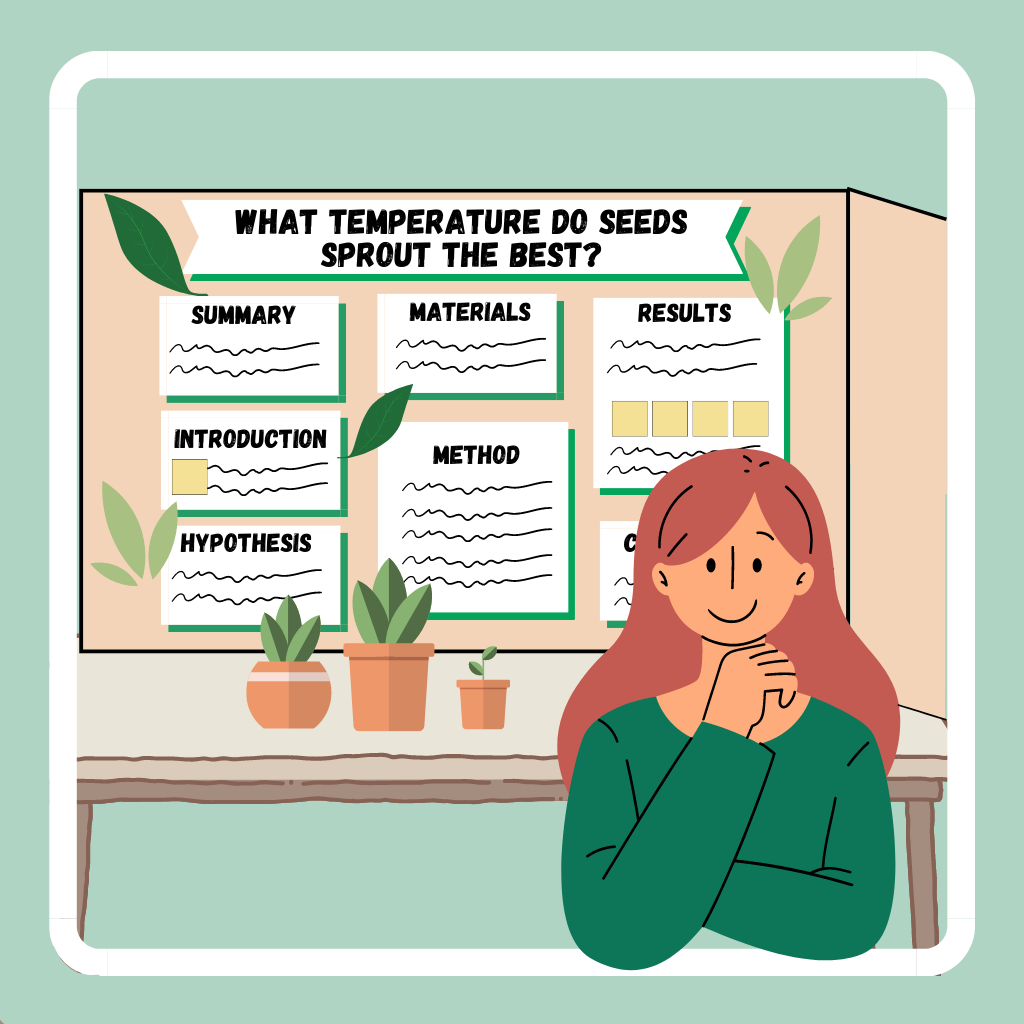 A science fair poster is a clear presentation of the information from a science fair project on a poster board. It includes writing and/or pictures for each part of the science fair project.
What is the purpose of a science fair poster?
One important part of science fair projects and scientific research is to share scientific findings with others. Scientists also make posters to present their research to others! Science and technology advances when everyone’s scientific curiosity and exploration is shared!
Writing and presenting your science fair project on a poster is a great way to practice communicating clearly in writing and in speaking.
What do I need to make a science fair poster?
Science fair posters can be displayed in different ways, so that determines what kind of poster is to be made. Science fair posters can made with one sheet of poster board, that is attached to the wall or an easel, or a poster board that stands on a table. Check the science fair’s instructions to see which kind of poster should be made or how the poster will be displayed. We will go through what you need to make both types of posters.
1) Poster board
Types of poster boards
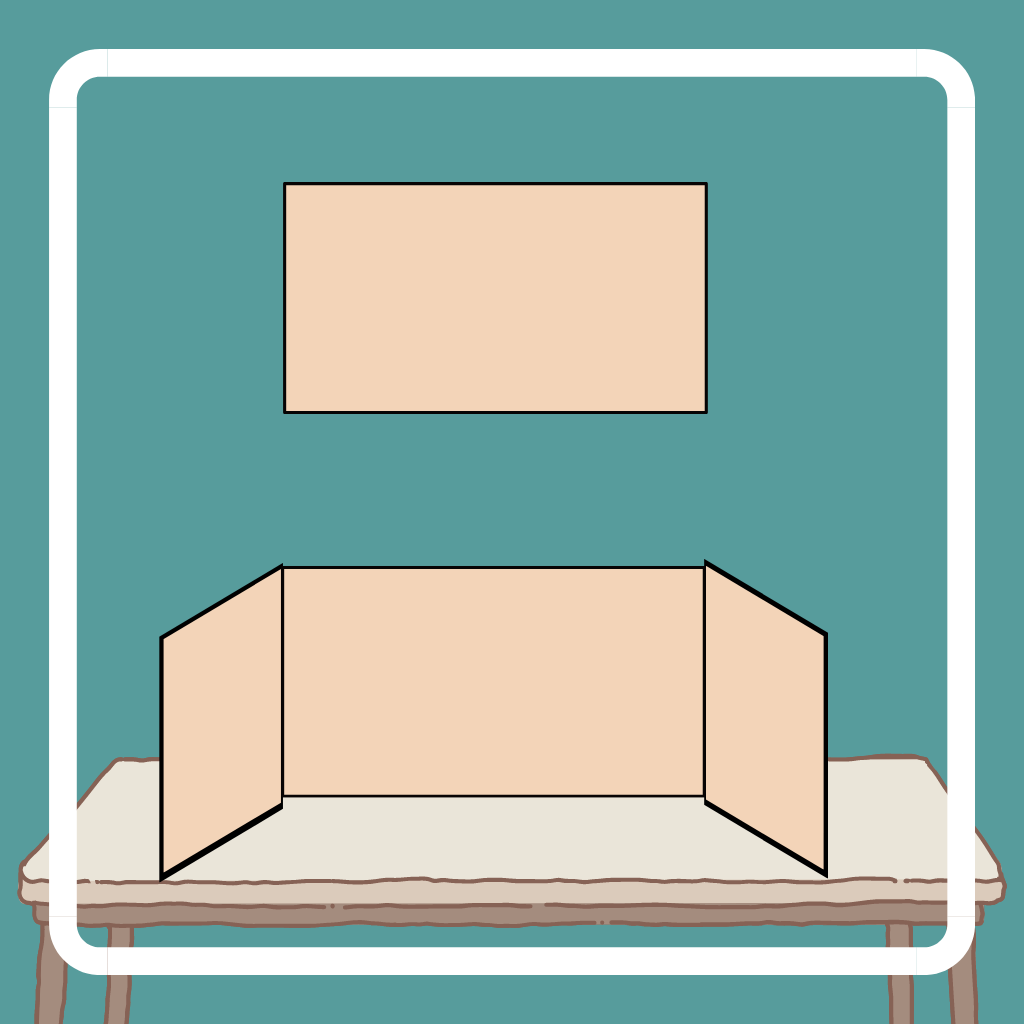 For a one-sheet poster board, check the science fair instruction for the size of the poster board.
For a poster board display that stands on a table, you’ll need a tri-fold poster board that has 3 sides, so that it can stand up by itself. Either make your own with cardboard boxes or 2 one-sheet poster boards, or buy a tri-fold poster board.
Poster board color
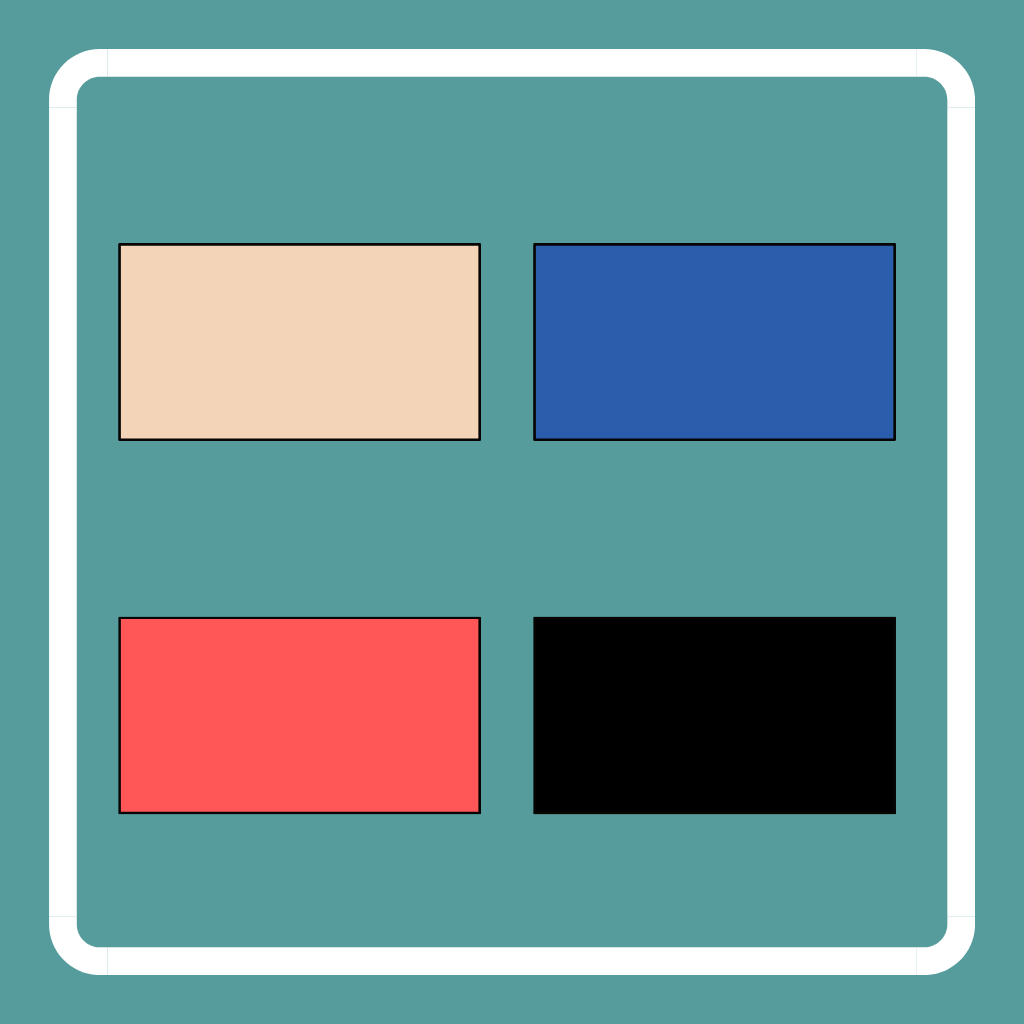 The white poster board is standard, but there can also be many different colors of poster boards (black, neon, etc). See which color will work best with your science fair project. For example, black poster boards work well for solar system posters as the dark color helps to represent the dark color of space. For a glow-in-the-dark project, a neon green or yellow poster board would emphasize the florescence of the project. If you cannot find the color of poster board that you want, you can always cover a white poster board with construction paper or gift wrap paper in the color that you want.
Where to get the poster board
 Single sheet or tri-fold poster boards can be bought from dollar stores (Dollar Tree, Family Dollar, Dollar General), craft stores (Michaels, Hobby Lobby, Joann) or big-box stores (Target, Walmart)
You can also make your own poster board with recycled cardboard boxes. A tri-fold poster board can be made by attaching three cardboard pieces with duct tape. Check the science fair project instructions for the size of the poster to make sure the cardboard box is large enough to make the poster board.
2) Printer
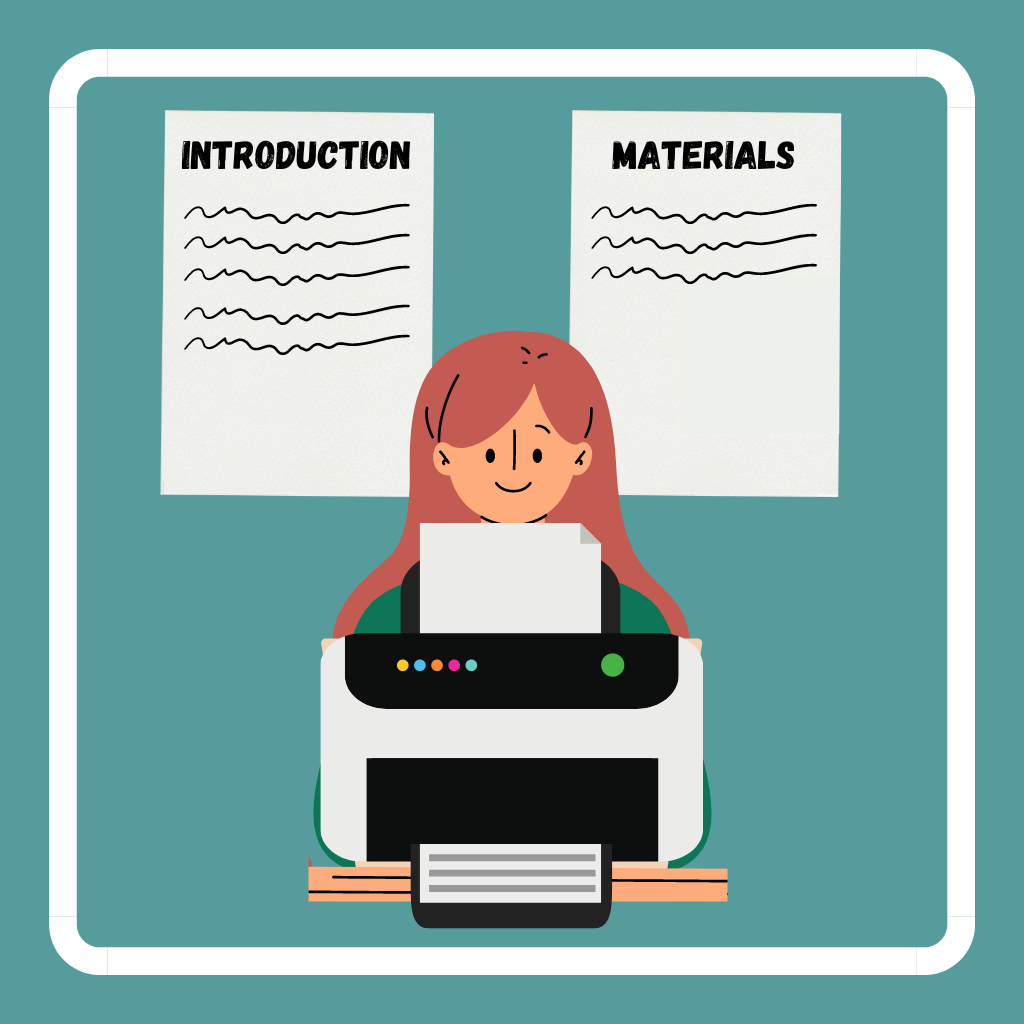 The information from your science fair project will need to be easy to read and in a larger font than a regular printed page of text. It can be written out neatly on the poster board, or printed out and then glued to the poster board.
The public library and school may have printers available. Check with the librarian or teacher.
3) Pictures or Displays
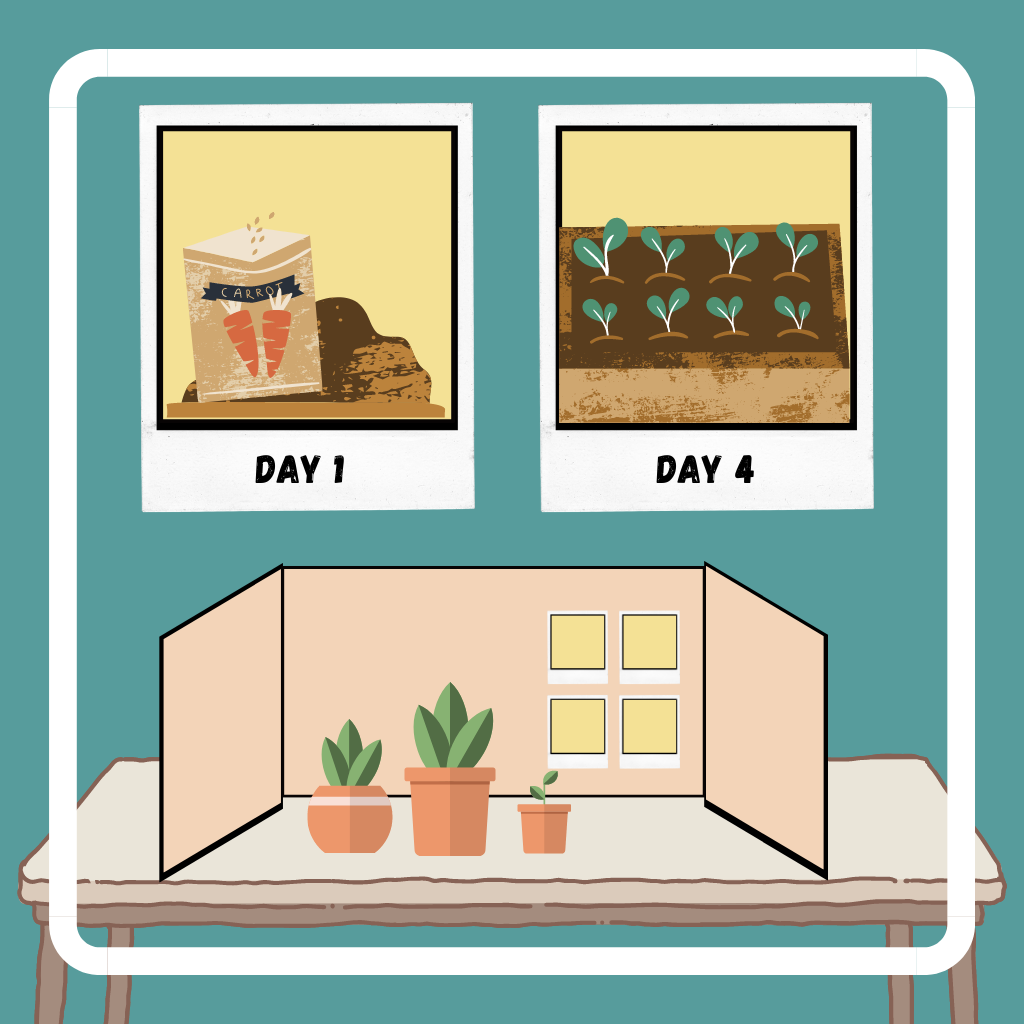 Pictures are worth a thousand words, and the same is true on a science fair poster! The experiment, model or collection you’ve done in the science fair project can be shown on the poster board through pictures or videos and displays on the table. Videos, science models or collections can be displayed on the science fair day.
4) Colored paper, markers and paint
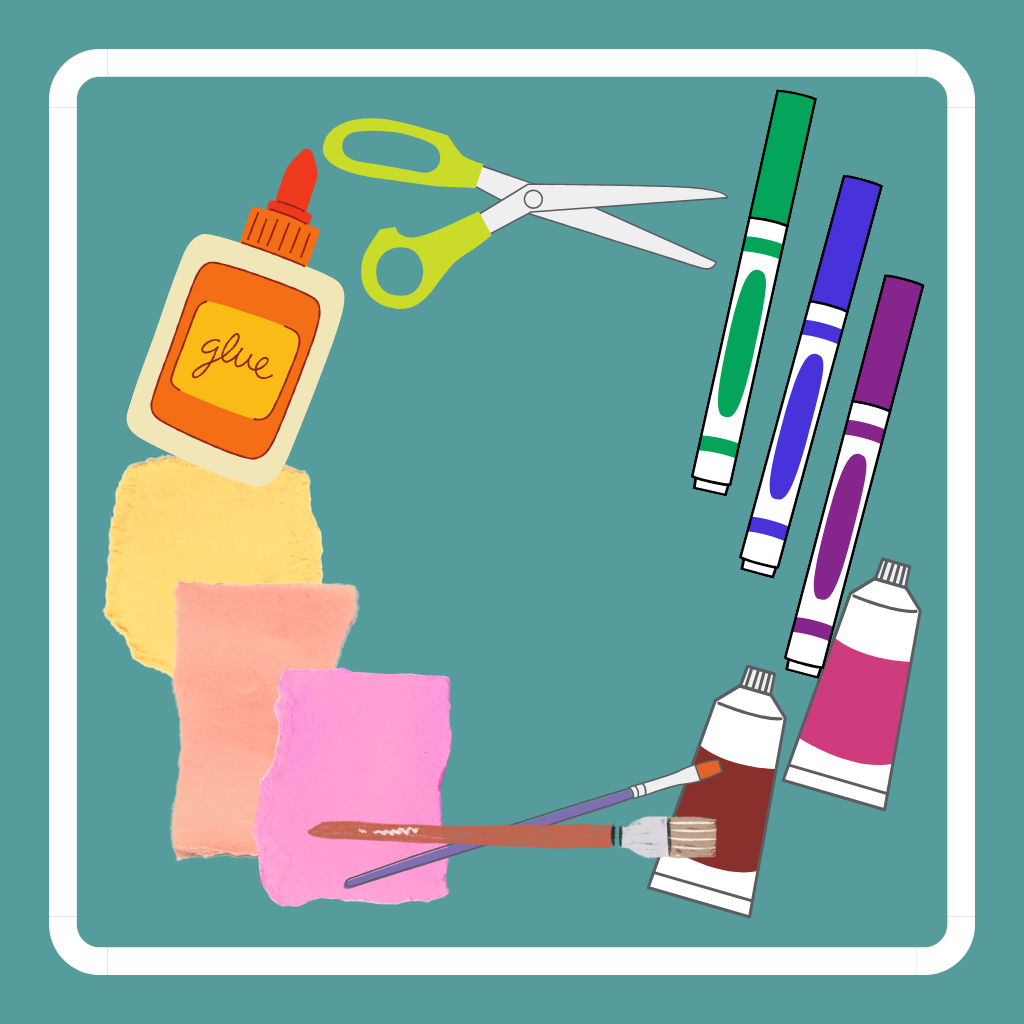 To add color to the science fair poster, you can use construction paper and collect colored cut-outs from paper boxes (clean and dry cereal boxes, food packaging, etc), newspaper or magazines that are to be recycled. Colored markers (Sharpies, Crayola markers) or acrylic paints can be used to write the titles and decorate the poster.
5) Glue
If you will be printing out your science fair project, then gluing onto the poster board, rubber cement or white glue are good choices. Rubber cement dries very quickly and doesn’t cause the paper to scrunch up when it dries. Aleene’s tacky glue is a very strong white glue for attaching decorations to the poster board.
How do I make a science fair poster?
One way to make a science fair project is to make a draft of the science fair poster by using scratch paper to represent the various sections of your project and laying them on your poster board to make sure everything fits on the poster. Once the draft looks good, you can easily put the final poster together!
1) Organize
First decide what the different sections to your science fair project are.
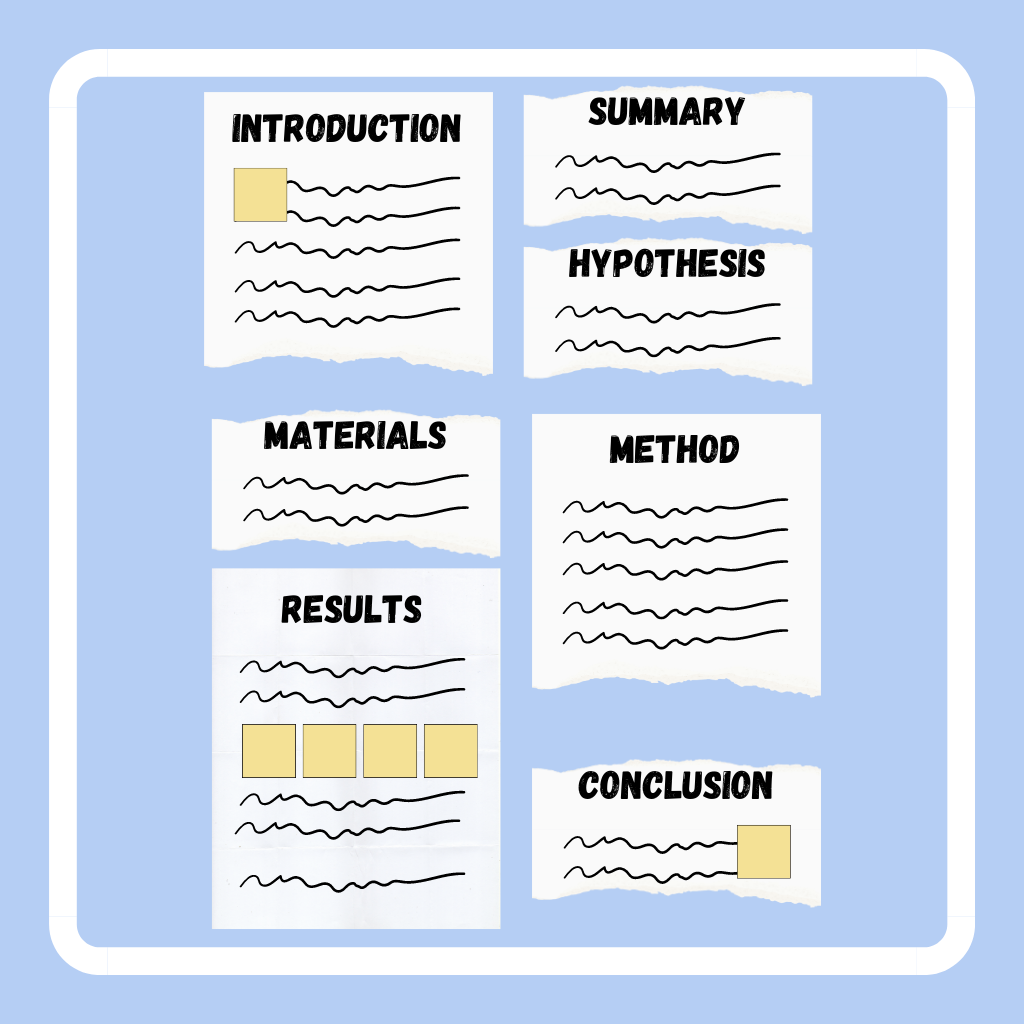
For example, these are common sections to a science fair poster:
Title
Summary or Abstract
Introduction or Background
Hypothesis
Materials
Method
Results
Conclusion
2) Write
 Write each of these sections in a concise way so that it’s easy for people to read. Include pictures or illustrations to help explain your science fair project.
3) Draft Title
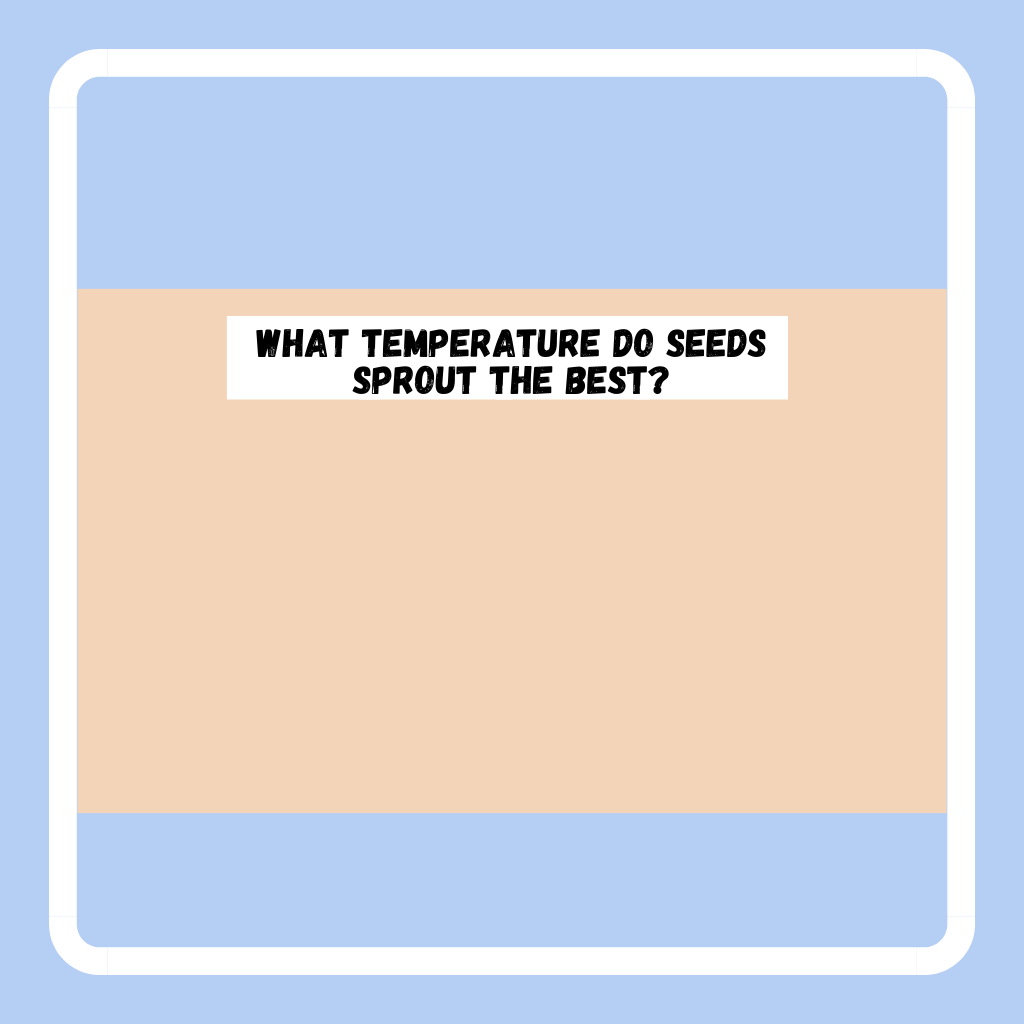 Next, decide how much space you need for each section using draft copies of each section to see how everything will fit together on the poster. The title is usually in large font so people can see it from afar. Use several pieces of scratch paper to write out the title. It’s usually at the top center of the poster.
4) Draft Sections
 For the other sections, adjust the font so that it is readable from at least 2 feet away and make the section title (Introduction, Materials, Method, etc.) larger than the rest of the writing so that it can be read from 3 feet away. Print out copies of your writing for each section on a separate piece of paper.
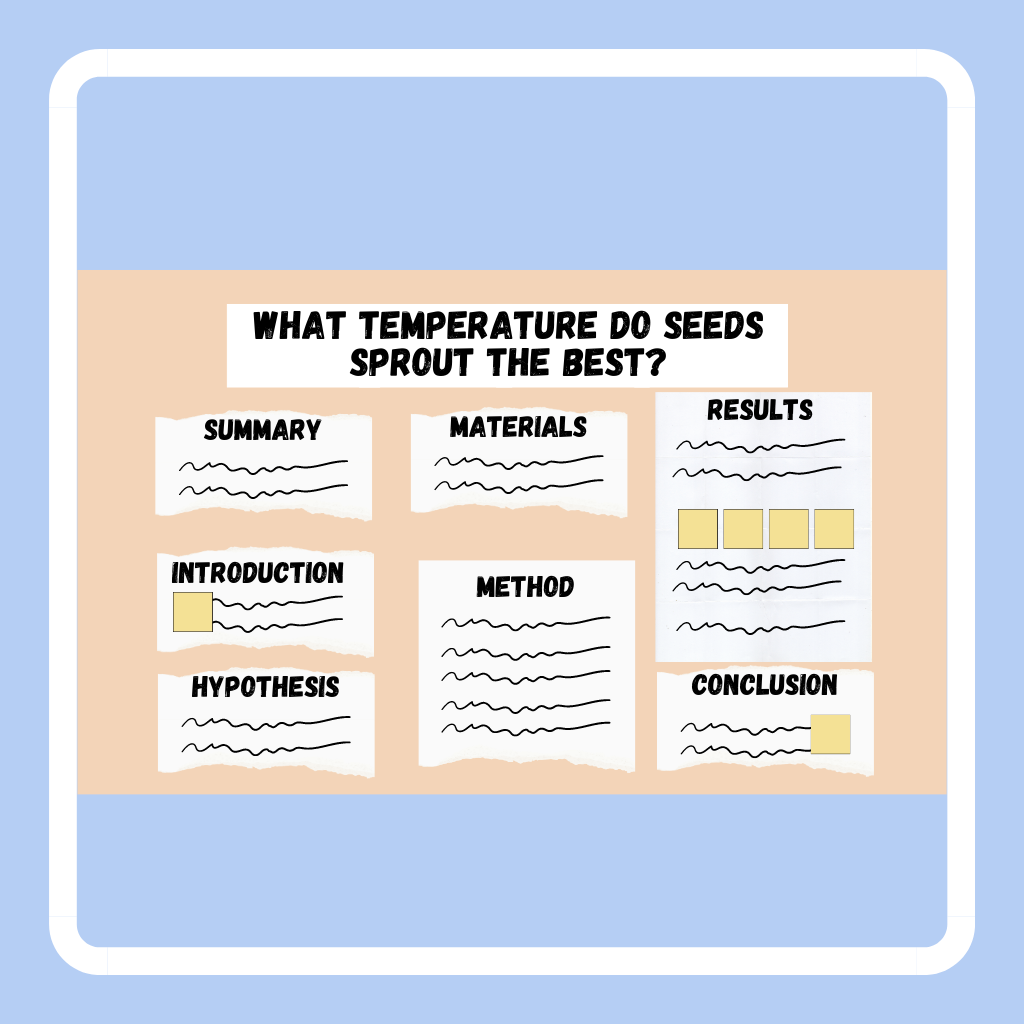
Also remember to use scratch paper to allocate space for pictures, diagrams, graphs, tables and charts! Usually these will be in the results section, but if there are pictures that help illustrate the introduction, materials, method or conclusion, be sure to include them! Lay down the papers for each section of the science fair project onto the poster board so that it all fits. Usually people will read the poster from top to bottom and left to right, so organize the sections in that general direction. If you find that you have a lot of extra space on the poster board, you can increase the font of each section so that it fills the poster better.
5) Draft Decoration
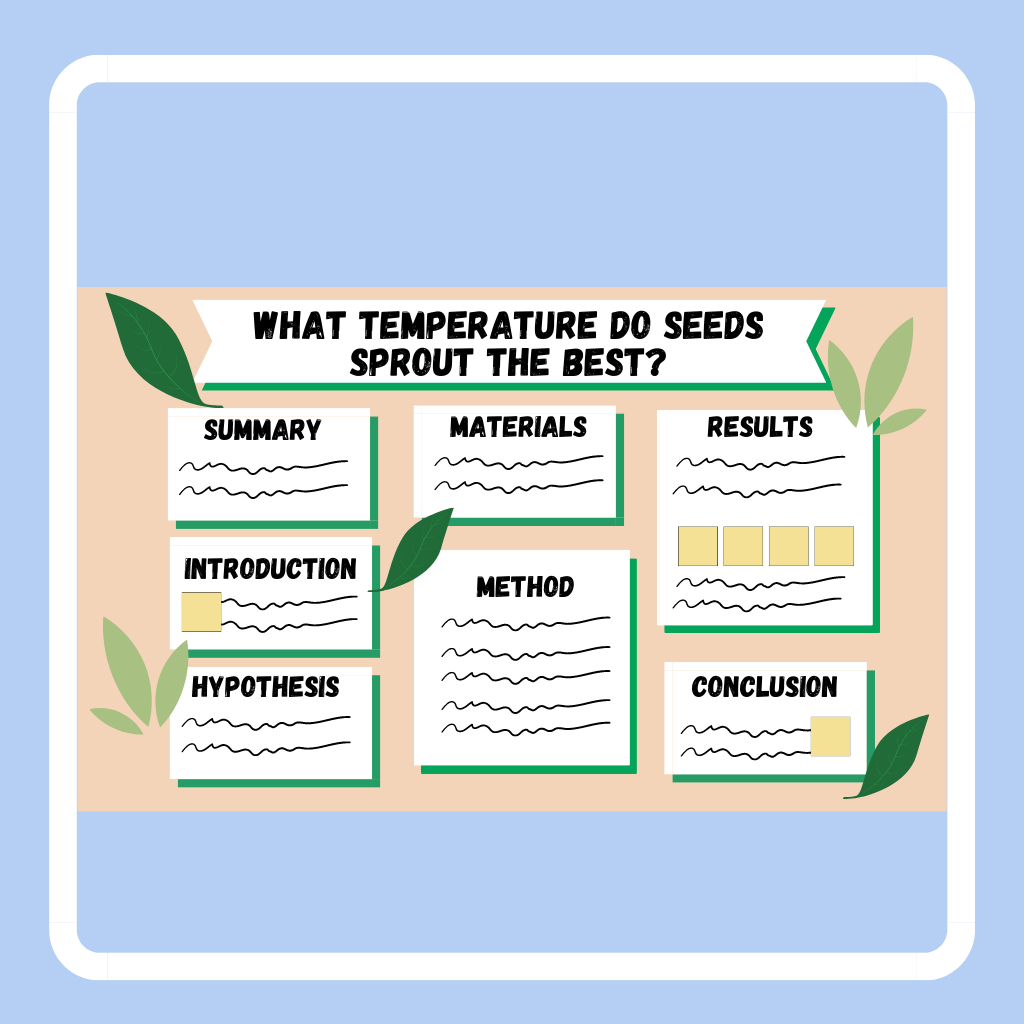
 Decide how you’d like to decorate the poster to make it more interesting to read. You can add color to each section by putting a colored paper border around it, or add pictures or decorations related to the section. Just place these decorations on the poster board without gluing it down.
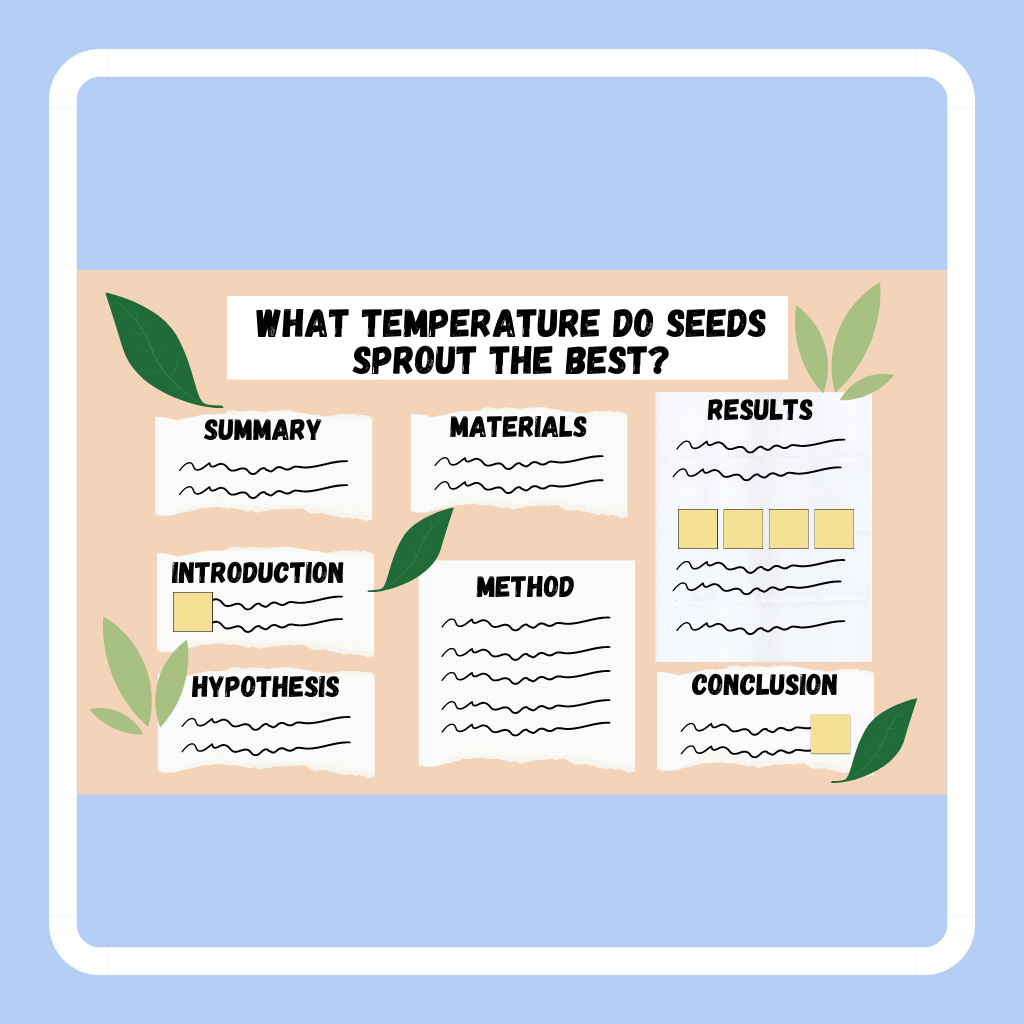
Posters can be decorated with pictures or images related to the science fair project topic. Some examples of ways to do this include:
 Drawing
Sketch leaves or plants on the poster board for a photosynthesis project, add color with markers or paint.
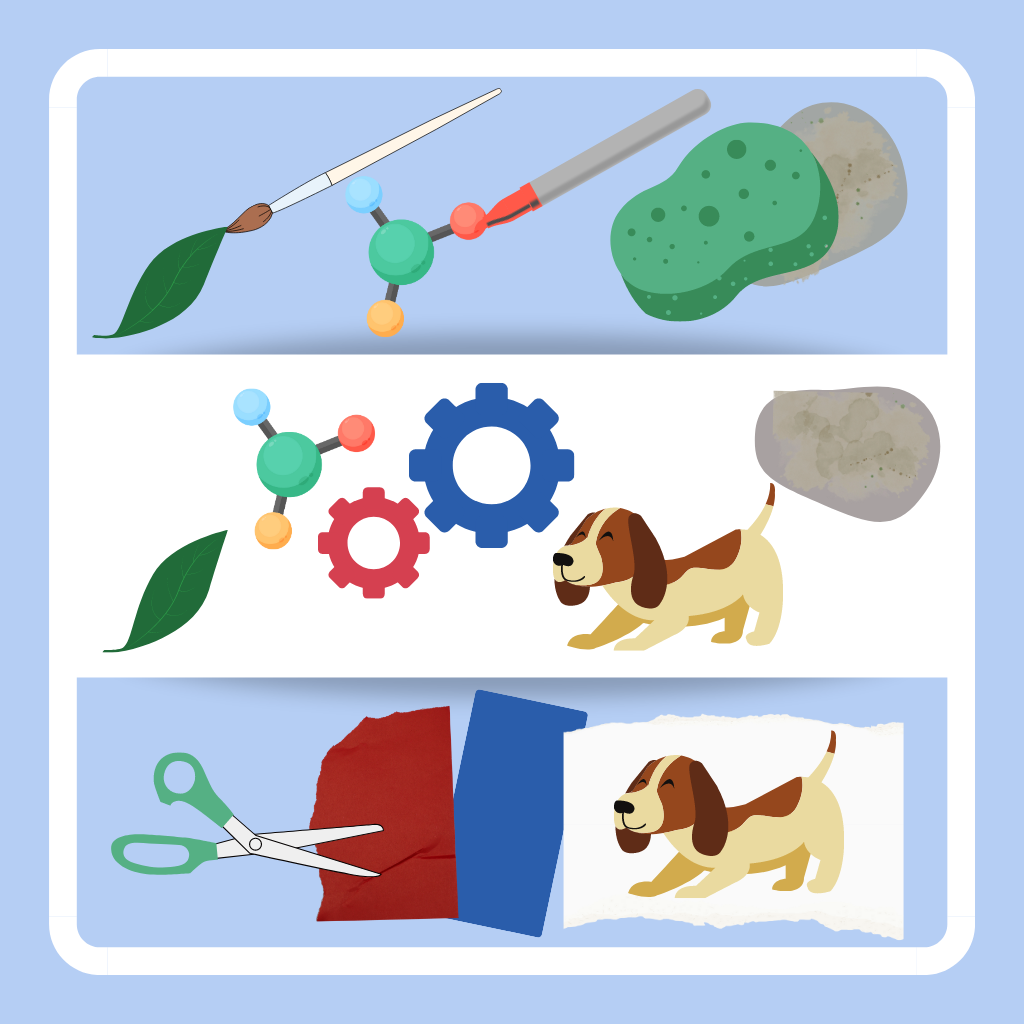
Chemical formulas or molecules
Draw or write out chemical formulas or molecular structures in the chemical reaction for a chemistry project.
Stamping
Cut a sponge into rock shapes and add paint to stamp rocks onto the poster for a rock project
Construction paper cut-outs
Cut out gears from construction paper for a robotics project
Magazine cut-outs
Cut out pictures of dogs from magazines for a dog related project
6) Final Sections
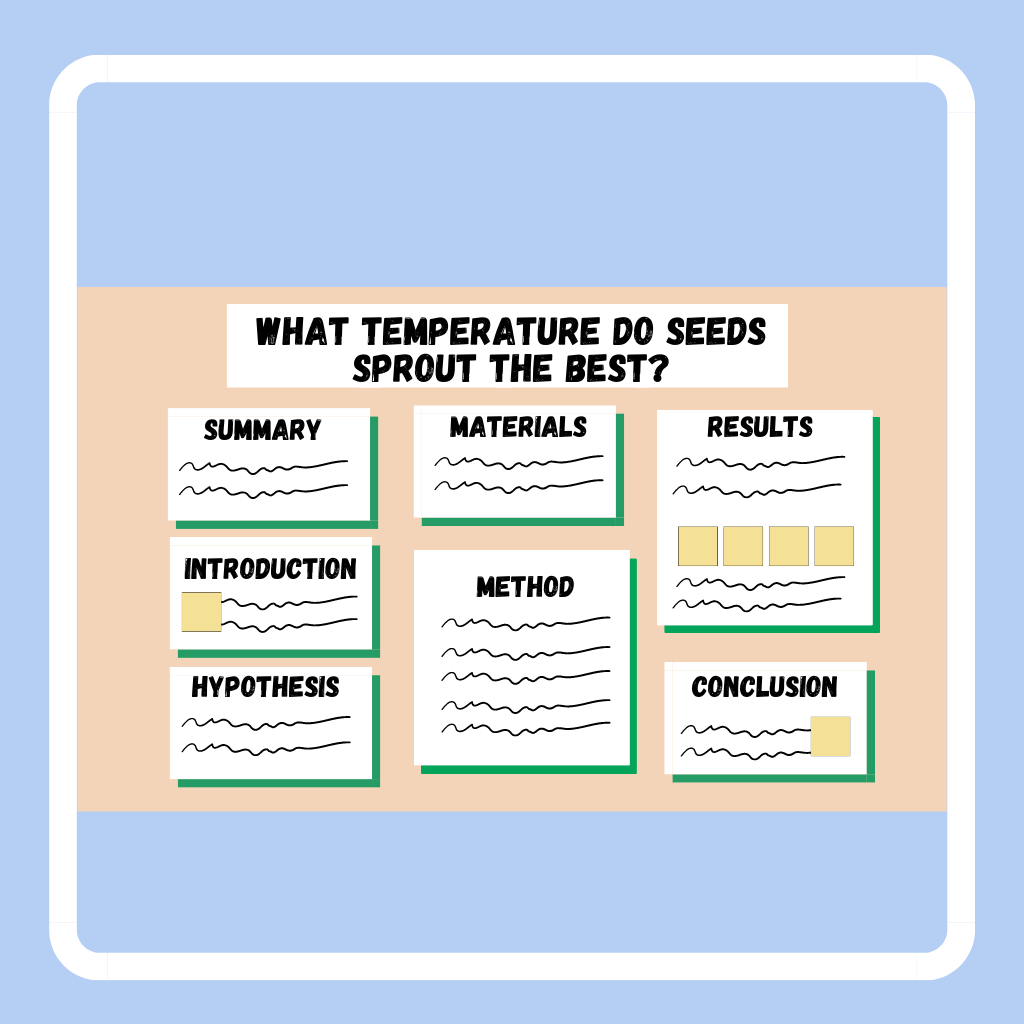 Now you’re ready to print or write each section for the final poster! After adjusting the font for each section, print them out. Glue the colored sheets or decoration onto the printed page. Lay each section onto the poster, don’t glue them on yet.
7) Final Title
 Write or print out the title for the poster. To make the title stand out, you can write the title with a colored marker, then outline the font with a black marker. You can also use construction paper or recycled cardboard to cut out the letters to the title.
8) Final Gluing
 Next glue the different sections and decorations onto the poster with rubber cement or white glue. Rubber cement is good for gluing paper as it doesn’t make paper crinkle up. Alene’s white glue is very strong for gluing down decorations. Let the glue dry before folding the tri-fold poster.
How do I bring the science fair poster to the science fair?
![]() Poster boards are usually pretty sturdy and can be hand carried to the science fair. However, if you want to protect the poster, you make a poster “folder” with two large flat cardboard sheets (from recycled cardboard boxes) that will cover your poster board. Put the longest edges of the cardboard sheets side by side. Duct tape the cardboard sheets together so that it forms a folder. Put duct tape on both sides of the edge, so that the poster will not get stuck on the duct tape when it’s in the folder. Hold onto the cardboard folder on the side opposite of the duct tape.
Poster boards are usually pretty sturdy and can be hand carried to the science fair. However, if you want to protect the poster, you make a poster “folder” with two large flat cardboard sheets (from recycled cardboard boxes) that will cover your poster board. Put the longest edges of the cardboard sheets side by side. Duct tape the cardboard sheets together so that it forms a folder. Put duct tape on both sides of the edge, so that the poster will not get stuck on the duct tape when it’s in the folder. Hold onto the cardboard folder on the side opposite of the duct tape.
How do I display the science fair poster?
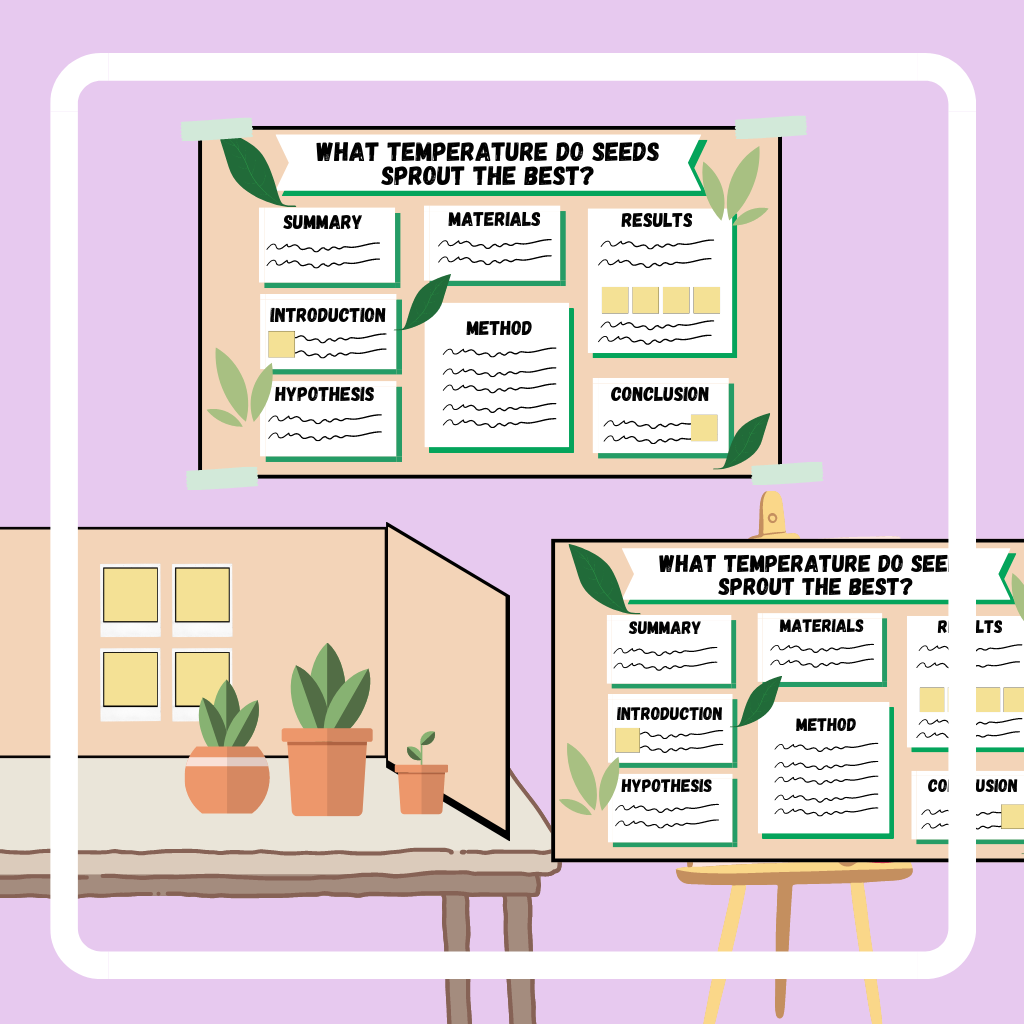 Science fair posters made with one poster board can be taped or tacked on the wall, or placed on an easel, which is provided by the science fair.
Science fair posters that are a tri-fold poster board will stand up by itself on a table when the two flaps of the tri-fold are opened up. Since there is a table, you can use the table to display your science fair project results, if it's possible to bring to the science fair.
Congratulations on finishing your science fair poster!
More from Science Fair Coach
Introduction to Science Fairs
 Discover the advantages of science fair projects, explore different science project types, and learn how to find and do a science fair project.
The Scientific Method
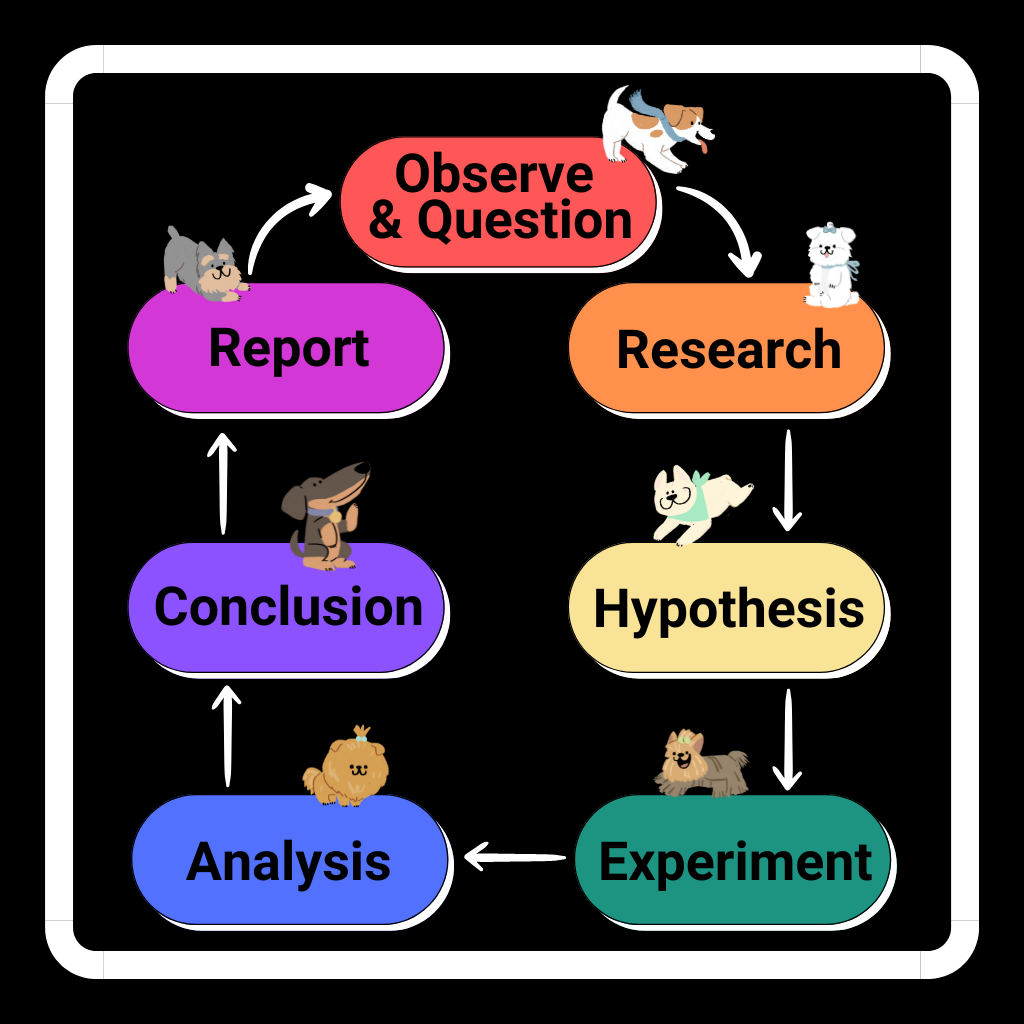 Gain an understanding of the 7 steps of the scientific method to learn how nature works, its application in a real-world example, and its historical evolution as a systematic approach to scientific investigation.
The Engineering Design Process
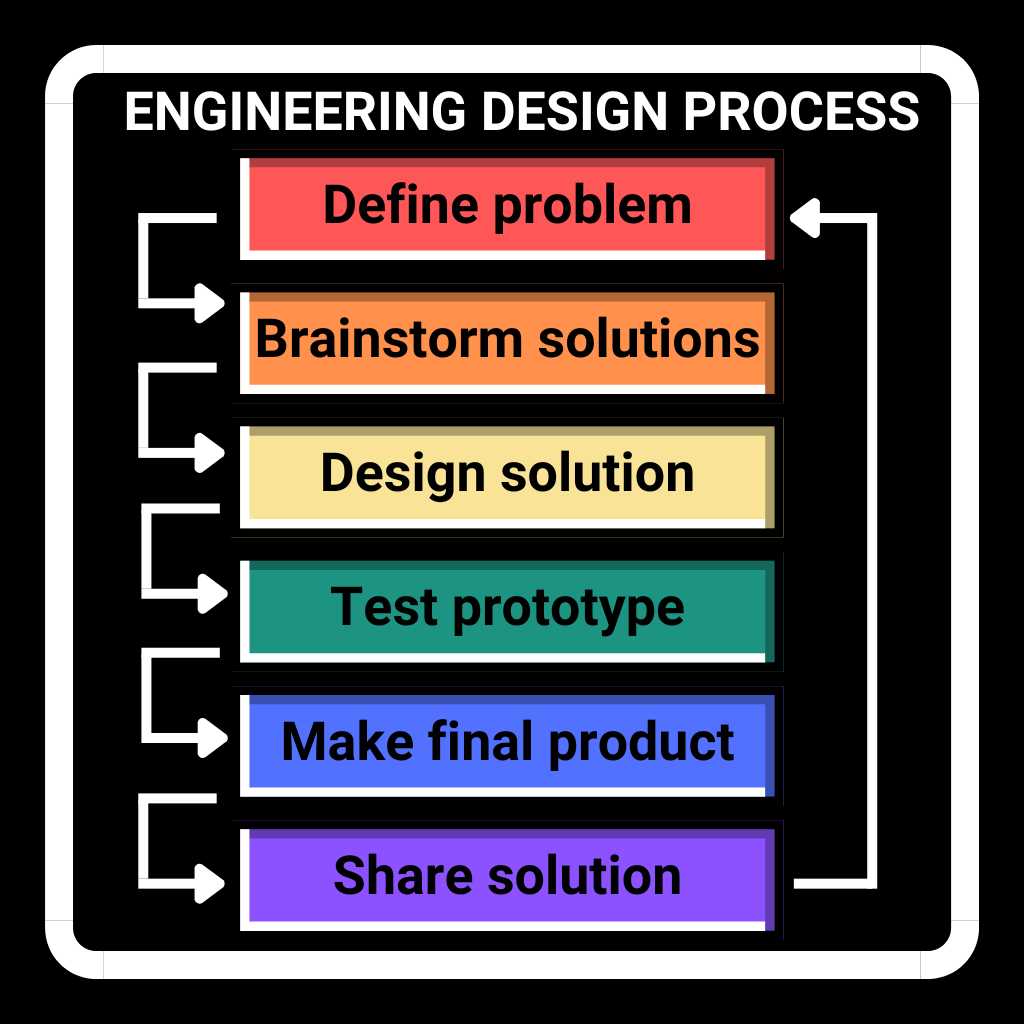 Learn the 6 steps of the engineering design process to make an effective solution to a problem, an example of the engineering process with the egg drop challenge, engineering challenges and engineering science fair projects!