| Complexity level: | 2 |
| Time required: | The dripping down (stalactite) and building up (stalagmite) will take about 3-5 days. If you want a column to form (the stalactite and stalagmite to touch), this will take over a week. |
| Safety concerns: |
Overview
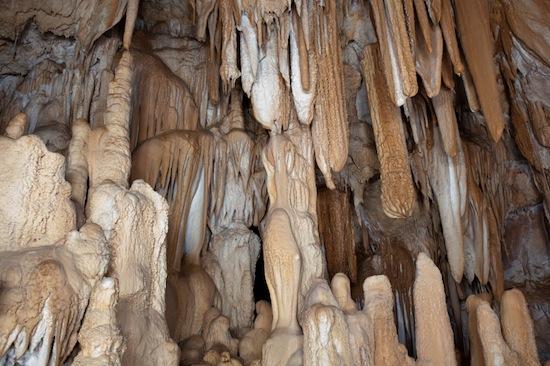
Caves are unique geological formations. Stalactites and stalagmites form very slowly over thousands of years through a rather simple process that all begins with dripping water. In fact, a stalactite or stalagmite grows only less than one inch each every 100 years.
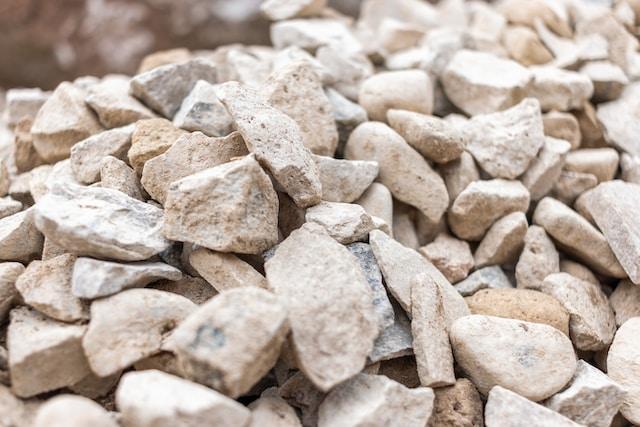
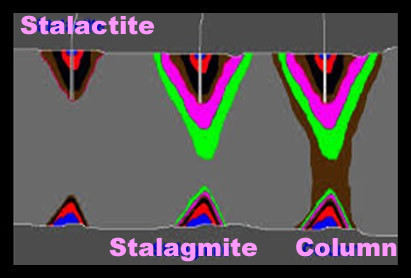
Many caves are made of limestone, a rock that is easily dissolved. Since caves are usually found underground, rainwater constantly drips down through the roof of the cave. Minerals from the limestone are dissolved into the water. The mineral that is dissolved by the dripping water is called calcium carbonate, also known as calcite. As the water trickles down from the ceiling of a cave, it drips ever so slowly. Once the water hits the air inside the cave, the water evaporates and the calcite in the water hardens. This result is deposits of rock in the shape of a stalactite or stalagmite -stalactites, being the icicle-like formations that hang from a cave ceiling and stalagmites being the cone shapes that pile up on the cave floor. This process is called deposition, which comes from the word "deposit" meaning "to build up". If the deposition remains undamaged for long enough, the stalactite and stalagmite will touch and a column will form. The limestone rock of the cave, with the help of rainwater, has dissolved and hardened into a fascinating new shape!
Scientific Terms
Materials
Tinker Crate — science & engineering build kits for ages 9–12 — real tools, real experiments, delivered monthly. (Affiliate link)
See what’s includedProcedure
1. Fill each jar about 2/3 full with hot tap water. Stir in as much Epson salt that will dissolve into each jar. Set aside for about 24 hours.
2. Take about 12-18 inches of yarn and tie one weight on each end.
3. Select a location that the stalactite and stalagmite model can be observed, but not bumped or moved. The formation created is very delicate!
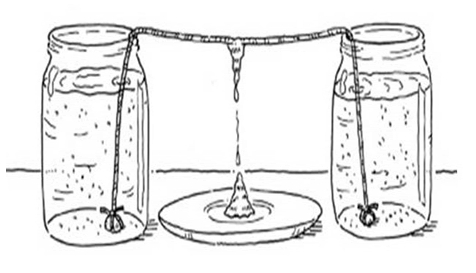
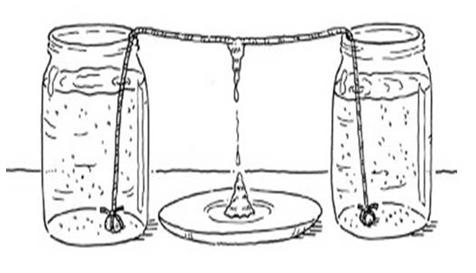
4. Place the small plate between each jar. Place the ends of each string with the attached weight into jars. Place the jars far enough apart so that the middle of the string drapes in a "u" shape just above the plate.
5. After a few days check to see if any deposits are forming on the string or on the plate. Draw what you see every few days and label with the date, or take photos.